Banti provides an option for you to automatically generate covers of different types, and it’s really easy to do. Here’s a screenshot of what that looks like.
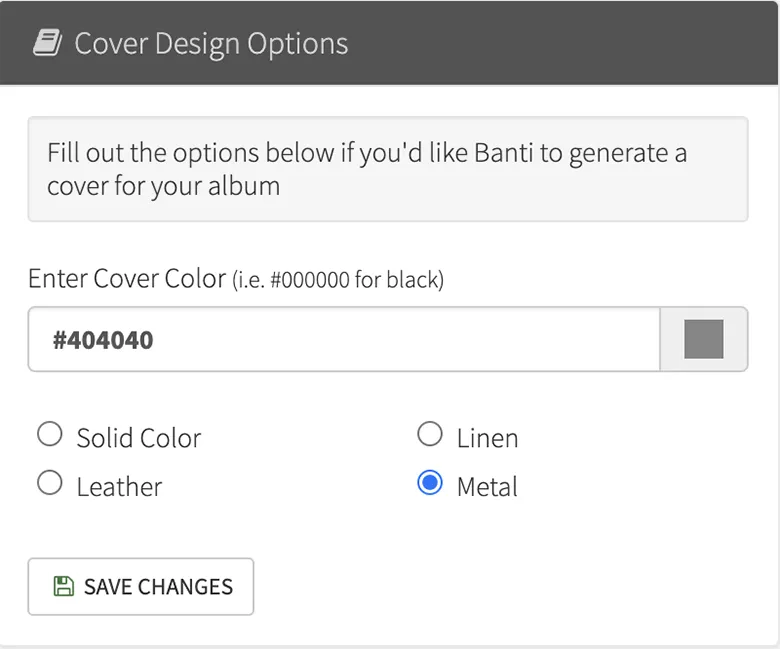
To give it a try, sign up for a free Banti Album Proofing account.
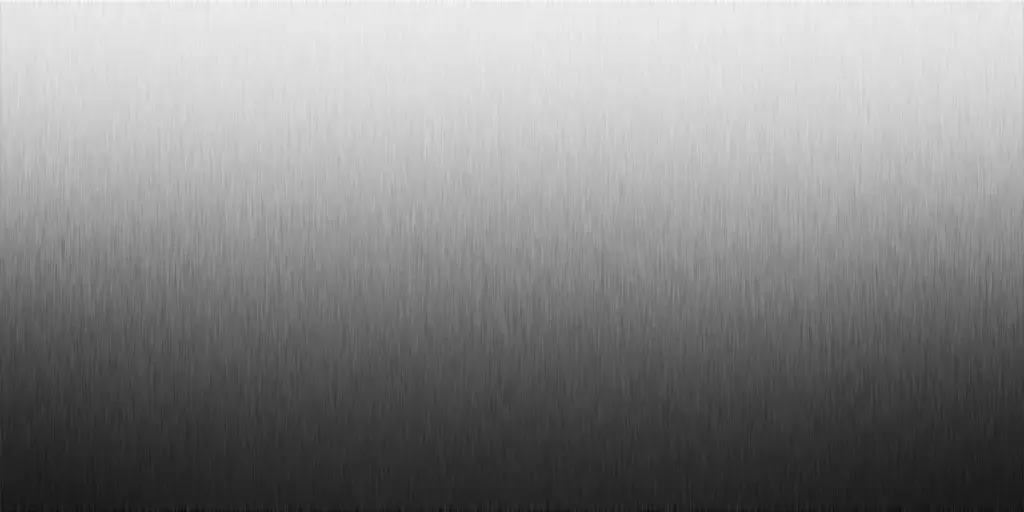
If you’d like to have a full control over the look of the texture, and maybe you’d like to add some text to them (i.e. names or dates), this tutorial will guide you through creating a polished or brushed metal texture in Photoshop while incorporating Smart Objects for a non-destructive workflow.
Step-by-Step Guide to Creating a Metal Texture in Photoshop
Step 1: Create a New Document
- Open Photoshop and create a new document:
- Dimensions: 2880×1440 pixels for a 10×10 in album (or your desired size).
- Resolution: 300 PPI.
- Background Color: White.
Step 2: Base Gradient
- Add a Gradient Fill:
- Go to Layer > New Fill Layer > Gradient and click OK.
- Set the gradient to Linear and colors from dark gray (#404040) to light gray (#C0C0C0).
- Angle: 90 degrees.
- Click OK.
- Convert the Gradient Fill Layer to a Smart Object:
- Right-click the layer and select Convert to Smart Object.
Step 3: Add Noise for Texture
- Duplicate the Smart Object:
- Right-click the layer and select Duplicate Layer.
- Add Noise:
- With the duplicated layer selected, go to Filter > Noise > Add Noise.
- Amount: 25%.
- Distribution: Gaussian, check Monochromatic.
- Apply Gaussian Blur:
- Go to Filter > Blur > Gaussian Blur and set the Radius to 2 pixels.
Step 4: Add Brushed Effect
- Add Motion Blur:
- Go to Filter > Blur > Motion Blur.
- Angle: 90 degrees (use 0 for horizontal).
- Distance: 50 pixels.
- Adjust Layer Blending:
- Set the layer’s Blending Mode to Overlay.
- Group the Layers:
- Select both layers, right-click, and choose New Group From Layers, or press Command+G (Mac) or Control+G (PC)
- Convert the group to a Smart Object.
Step 5: Enhance the Metal Texture
- Add Highlights and Shadows:
- Create a new layer above the Smart Object.
- Use the Brush Tool with a soft round brush (low opacity) to paint white (highlights) and black (shadows) areas.
- Convert this layer to a Smart Object and set its blending mode to Soft Light.
- Add a Subtle Bevel:
- Select the metal Smart Object layer.
- Go to Layer > Layer Style > Bevel & Emboss:
- Style: Inner Bevel.
- Depth: 100%.
- Size: 5 px.
- Soften: 2 px.
Step 6: Final Polishing
- Add a Gradient Map:
- Go to Layer > New Adjustment Layer > Gradient Map.
- Choose a gradient from black to white or metallic tones for more realism.
- Set the layer blend mode to Soft Light
- Add a Subtle Vignette:
- Create a new layer and fill it with white.
- Right-click the layer and select Convert to Smart Object
- Apply Filter > Lens Correction > Custom, adjust the vignette amount to -100, midpoint to +25, and set the layer to Soft Light with reduced opacity.
Step 7: Save Your Work
- Save your project as a PSD to retain the Smart Objects.
- Export the metal texture as a PNG or JPEG for use in other projects.
Notes:
- Using Smart Objects ensures that you can adjust filters, blending modes, and effects at any time.
- Experiment with Motion Blur, Gradient Maps, and Bevel & Emboss to achieve different types of metal textures (e.g., polished, brushed, or rough).
This approach keeps your work flexible, allowing for easy edits and customization.
Download the Final PSD File for this Metal Texture